|
Let us do some fun with the photos!! We can add various types of effects which are ultimately offering you some of the great visual effect. In fact adding the captions for each photo will be perfect and compact. These elements will be offering a great output in case of a comic book effect.
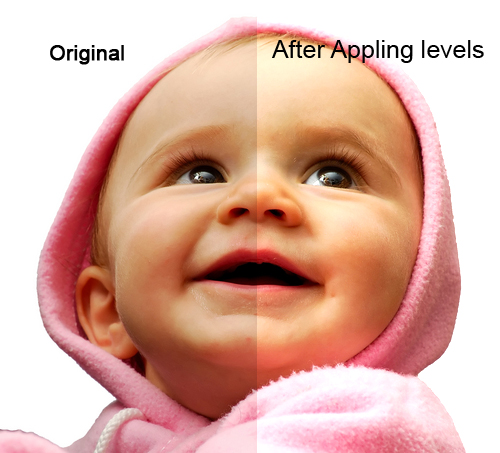
Old halftone print effectAt first open a downloaded image in Photoshop. Here we will be increasing the overall contrast of the entire picture. Then go to IMAGE > ADJUSTMENTS > LEVELS. With it is INPUT LEVELS to 60 / 1.00 / 220 for the image. Edit the best settings for each photo.
Here in this step we will be giving an effect to make it perfect as per as old and low quality of paper. In the final looks there will be e distortion in every single idea. Go to FILTERS > ARTISTIC > FILM GRAIN. We will be using here GRAIN: 4, HIGHLIGHT AREA: 0, INTENSITY: 10.
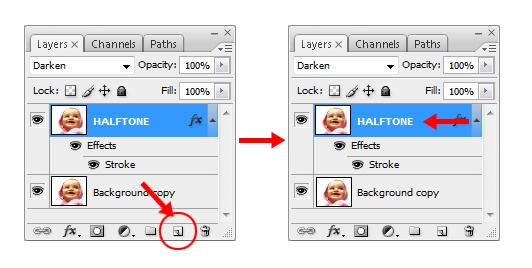
Set a new layer of HALFTONE with the duplicate layer.
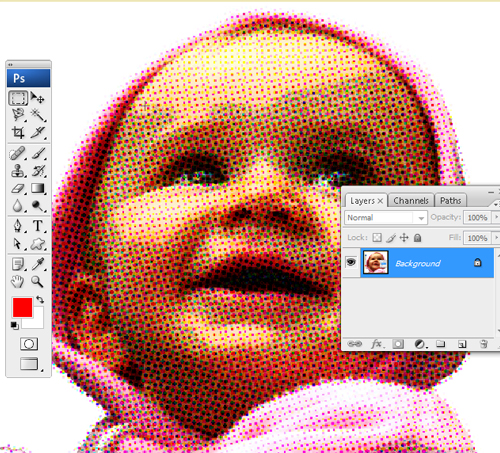
Here in this step we will be giving an effect to make it perfect as per as comic book effect. Go to FILTER > PIXELATE > COLOR HALFTONE. By keeping a default value you must go for the Set MAX RADIUS: 4. Press OK > LAYERS PALETTE> BLENDING MODE> DARKEN
Now comic book elements should be used in picture
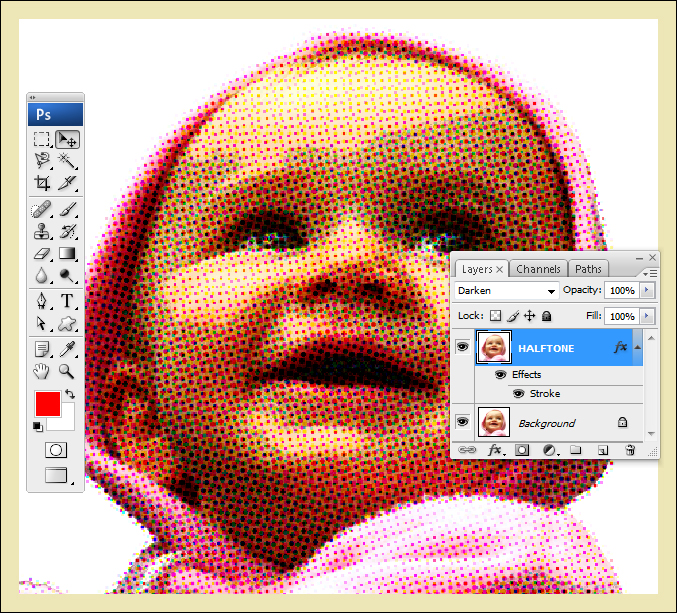
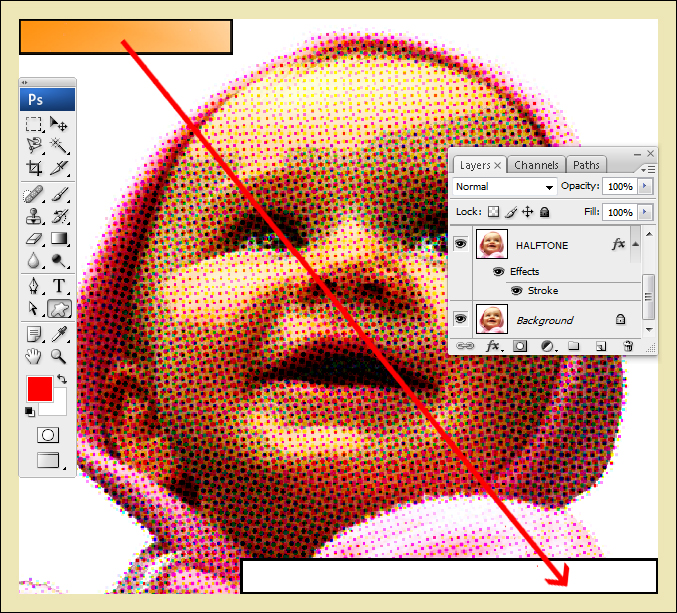
HALFTONE layer> STROKE LAYER STYLE: 20px Width. Colour and inside: #F5ECE1 Border to the entire image is given. An empty layer should be added as per the former step. TOOLS PALETTE> RECTANGLE SELECTION TOOL. 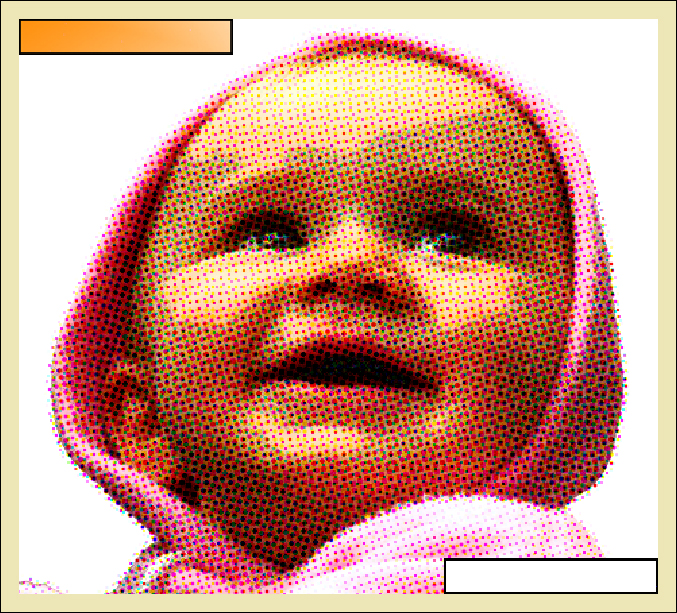 Border to the entire image is given. An empty layer should be added as per the former step. TOOLS PALETTE> RECTANGLE SELECTION TOOL.
Now EDIT > STROKE, 4px Width, Black Colour, Location: Centre > OK
Comic fonts are being used for the caption:
Finally your image:
So what are you waiting for... Ready Steady Go |